Screw-Cemented Implant Prostheses: Best Practices for In-Mouth Cementation to Achieve Maximum Passive Fit
In implant dentistry, screw-cemented (or screw-retained cementable) prostheses offer a hybrid approach combining the retrievability of screw-retained restorations with the esthetics and passive fit potential of cement-retained ones. This method is particularly valuable for fixed partial dentures or single crowns supported by dental implants. According to Misch’s Contemporary Implant Dentistry (a key reference in implant prosthodontics), implant-retained prosthetics are typically installed via intra-oral cementation or screw-in methods, each with specific protocols to ensure long-term success and minimize complications like peri-implantitis.
At Morphodent, your go-to resource for dental education and implant dentistry tips, we delve into the two primary delivery and cementation techniques for screw-cemented implant-supported prostheses:
- Cementing on the cast, followed by intra-oral delivery: This lab-based approach allows for precise fitting on a model before placement in the patient’s mouth.
- Direct in-mouth cementation: Ideal for achieving optimal passive fit, this method reduces misfits caused by impression inaccuracies but requires meticulous technique to avoid excess cement residues.
Focusing on the in-mouth cementation method—recommended for maximizing passive restoration fit—we outline essential steps backed by evidence from systematic reviews and clinical guidelines, such as those in the Journal of Prosthetic Dentistry and studies on minimizing cement excess (e.g., a 2022 systematic review emphasizing techniques to prevent peri-implant complications).
Why Choose In-Mouth Cementation for Screw-Cemented Implants?
In-mouth cementation enhances passive fit by verifying abutment seating and occlusion in the oral environment. Research from Decisions in Dentistry (2021) highlights that proper cementation reduces excess cement around implants, a common cause of peri-implantitis. Benefits include:
- Improved retrievability for maintenance.
- Better esthetics due to hidden screw access holes.
- Lower risk of abutment screw loosening, as noted in a 2023 article on screwmentable implant crowns.
However, drawbacks like cement extrusion must be managed. A protocol from the International Journal of Oral & Maxillofacial Implants stresses using resin cements for their strength and biocompatibility.
Step-by-Step Guide to In-Mouth Cementation for Optimal Passive Fit
To ensure success, follow these eight critical steps, expanded with insights from references like the 2017 protocol for screw-retrievable, cement-retained implant-supported fixed partial dentures and a 2014 survey on cement types.
1. Apply Final Torque to Abutments Before Cementation
Prior to any cement application, torque the abutments to the manufacturer’s recommended value (typically 20-35 Ncm, depending on the system). This step, supported by Misch’s guidelines, confirms stable implant-abutment connections and prevents micro-movements that could compromise fit. Use a calibrated torque wrench for precision, and verify with radiographs if needed.
2. Verify Screw Access Hole Adequacy
With the crown or prosthesis seated intra-orally, inspect the screw access channel. Ensure it’s sufficiently open so the driver or wrench engages without interference from surrounding walls. A study in the Journal of Clinical and Aesthetic Dentistry (2016) warns that inadequate access can lead to incomplete seating or damage during retrieval, increasing failure rates. Adjust with rotary instruments if necessary, maintaining occlusal integrity.
3. Fill Abutment Access Precisely with Teflon Tape
Completely pack the abutment screw access up to the superior edge with PTFE (Teflon) tape or a similar non-reactive material. This acts as a barrier to prevent cement ingress into the screw channel, facilitating easy retrieval. References from PubMed Central emphasize this as a key anti-contamination measure in screw-retained restorations.
4. Select and Apply Resin Cement with Proper Bonding Protocol
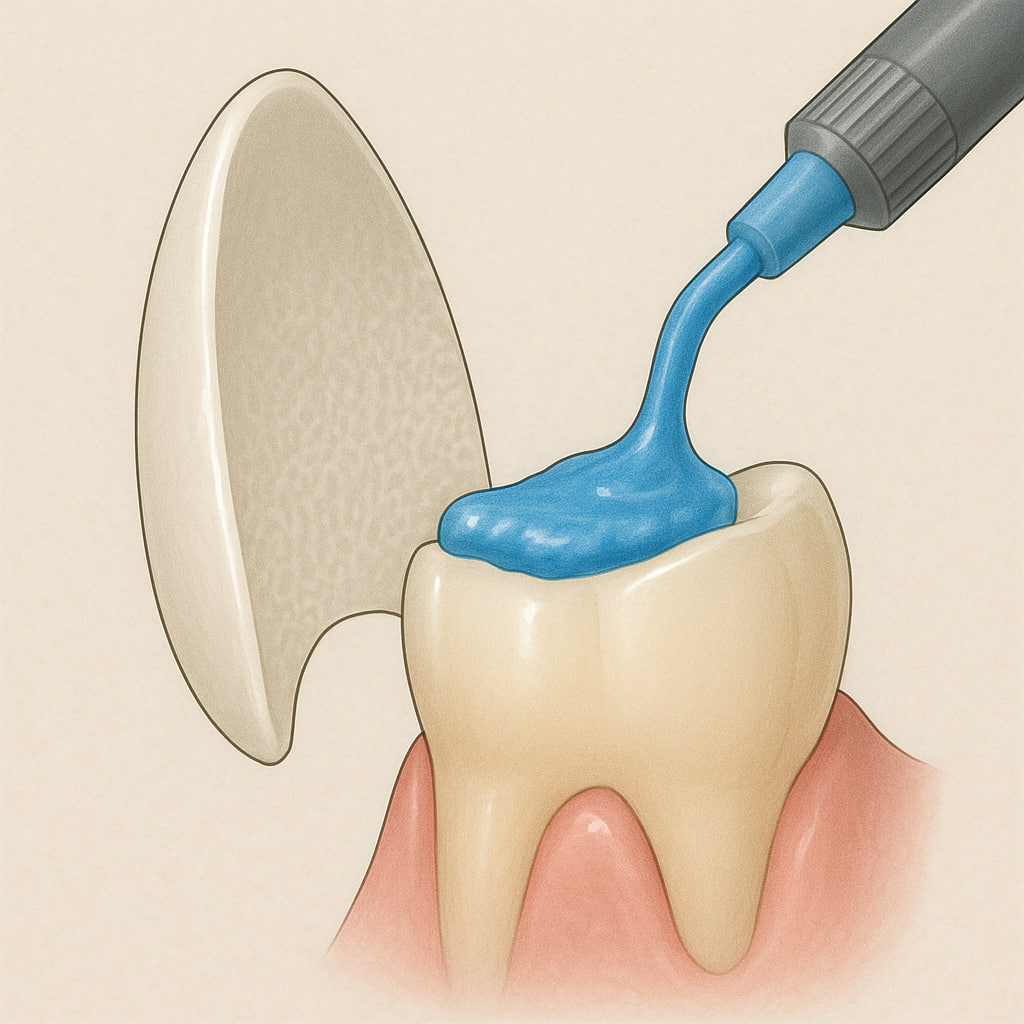
Resin cements (e.g., dual-cure varieties like RelyX Unicem) are preferred for their adhesive strength and low solubility, as per a 2024 survey in the Journal of Dental Education comparing cement types. Execute a full bonding protocol:
- Sandblast the abutment and intaglio surface of the crown for micro-retention.
- Apply appropriate primers (e.g., silane for ceramic restorations).
- Follow manufacturer instructions for mixing and application to ensure chemical compatibility and reduce voids.
This step aligns with best practices from a 2014 Oasis Discussions review, which recommends temporary cements only for initial trials to aid retrievability.
5. Remove Excess Cement Before Curing
After seating the restoration, immediately clean all excess cement from the access hole margins until the Teflon is obvious. Use explorers, floss, or specialized tools to avoid subgingival residues. A systematic review (PMC, 2022) links uncleaned cement to peri-implant inflammation, underscoring the need for thorough removal to prevent biological complications.
6. Incorporate Light Curing Pre-Removal with Adequate Set Time
Allow initial self-curing (chemical set) to reach gel phase stability for a few minutes. Then, apply light curing from the occlusal surface using a high-intensity LED unit (e.g., 1000 mW/cm² for 20-40 seconds). As detailed in a PDF protocol for screw-retrievable dentures, this hybrid curing enhances polymerization in hard-to-reach areas while minimizing shrinkage stress.
7. Post-Removal Extra-Oral Light Curing
Unscrew the restoration, clean any residual cement, and perform additional light curing from all angles outside the mouth. This ensures complete polymerization, reducing uncured monomer risks. Clinical considerations from SciELO (current review) support this for preventing bone loss around implants.
8. Polish Margins for Seamless Integration
Finally, polish the restoration-abutment interface to achieve a smooth, uniform finish. Use fine diamond burs and polishing kits to eliminate micro-roughness, which could harbor plaque. Achieving this “one-piece” appearance, as per esthetic guidelines in the Journal of Prosthodontics, promotes gingival health and long-term prosthesis stability.
Potential Complications and Prevention Tips
Despite careful execution, issues like abutment loosening or cement-induced peri-implantitis can arise. A 2023 Dandy article comparing screw vs. cement retention advises regular follow-ups and patient education on oral hygiene. If passive fit is challenging, consider screw-retained alternatives for high-risk cases.
Conclusion: Enhancing Implant Success with Evidence-Based Techniques
Mastering in-mouth cementation for screw-cemented implant prostheses is crucial for dental professionals seeking durable, esthetic outcomes. By adhering to these steps, you can optimize passive fit and patient satisfaction, drawn from authoritative sources like Misch, systematic reviews, and clinical journals. At Morphodent, we empower dentists with practical implant dentistry education. For more guides on advanced prosthodontics, visit our blog.


